| | Step by step on how the Cave diorama was made. |  |
|
+4Chip BAMComix Rogue-Trooper Professor Gangrene Fan 8 posters |
| Author | Message |
|---|
Professor Gangrene Fan
Moderator

Posts : 11111
Join date : 2012-11-11
 |  Subject: Step by step on how the Cave diorama was made. Subject: Step by step on how the Cave diorama was made.  Sun Apr 04, 2021 2:34 pm Sun Apr 04, 2021 2:34 pm | |
| 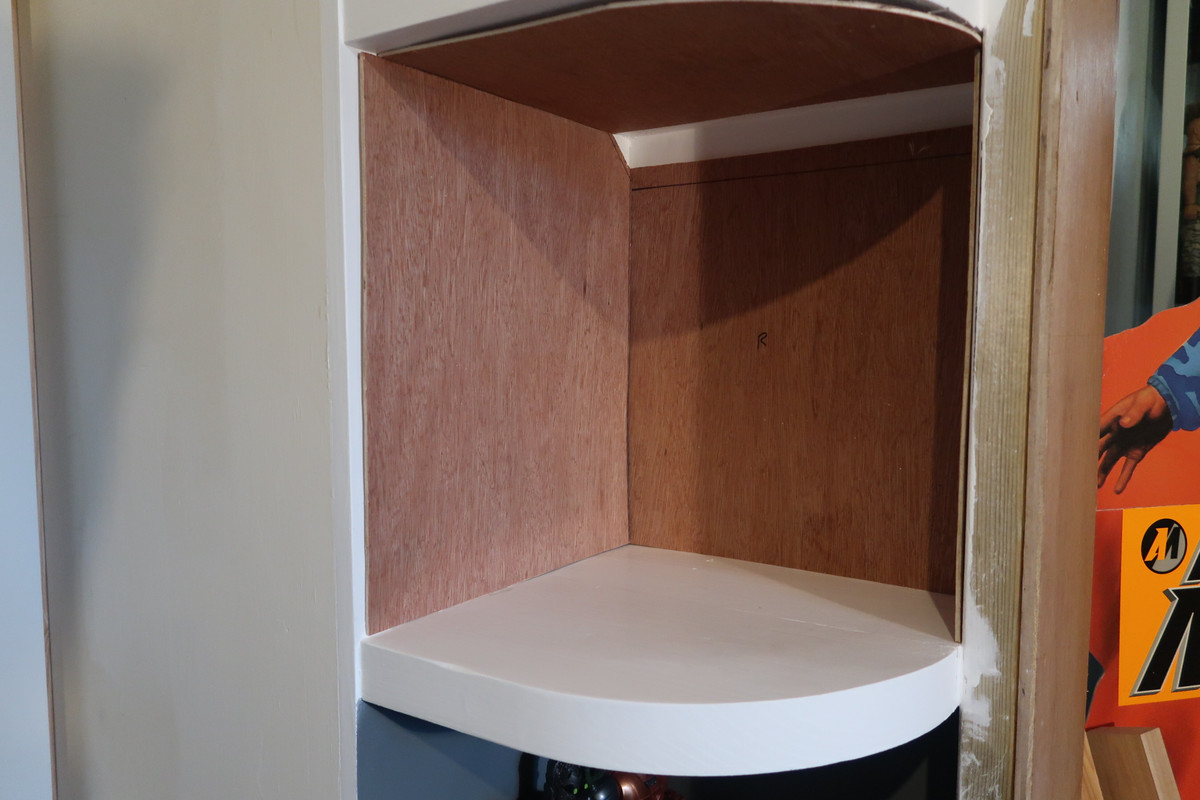 The original idea was a ply insert to the shelf, that could be removed. This would allow for alternative inserts with different scenes. This didn’t work because it was too flimsy and removing it would wreck the scenery structure. It did however provide a good base for the next layer to stick to. (The slot at the top back is for future led lighting.) 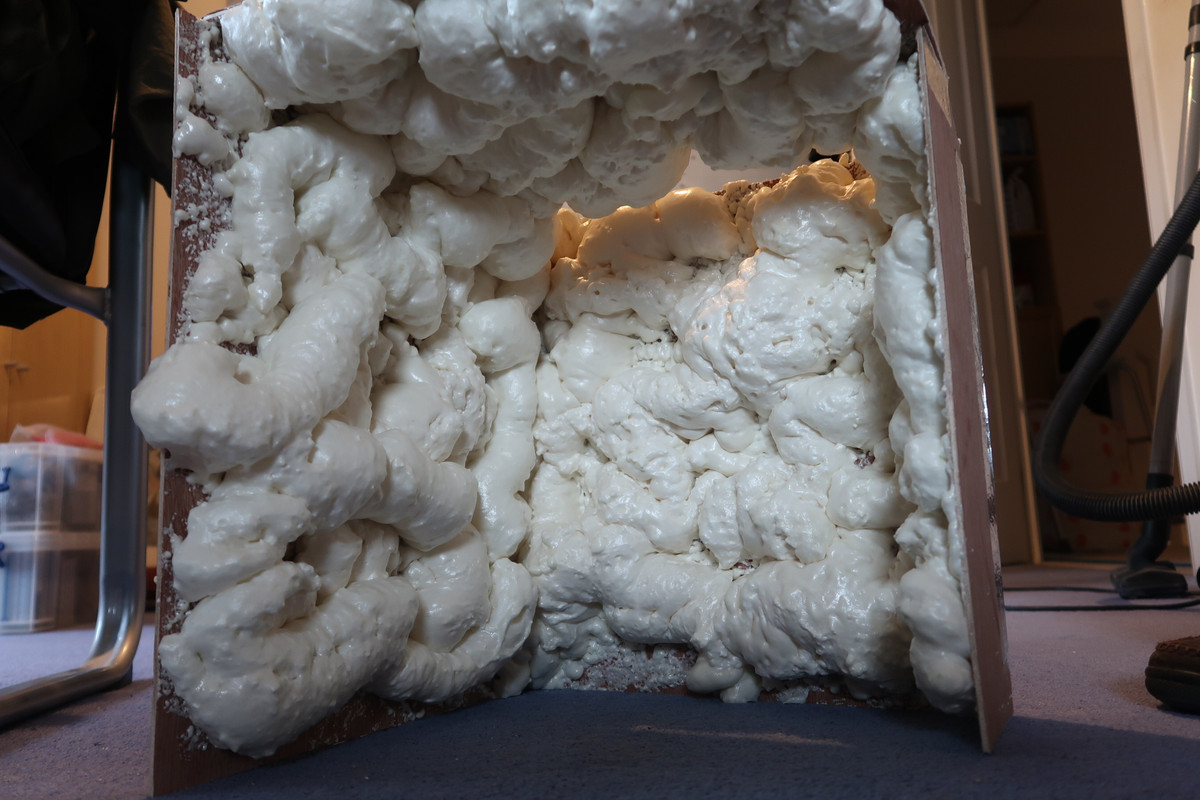 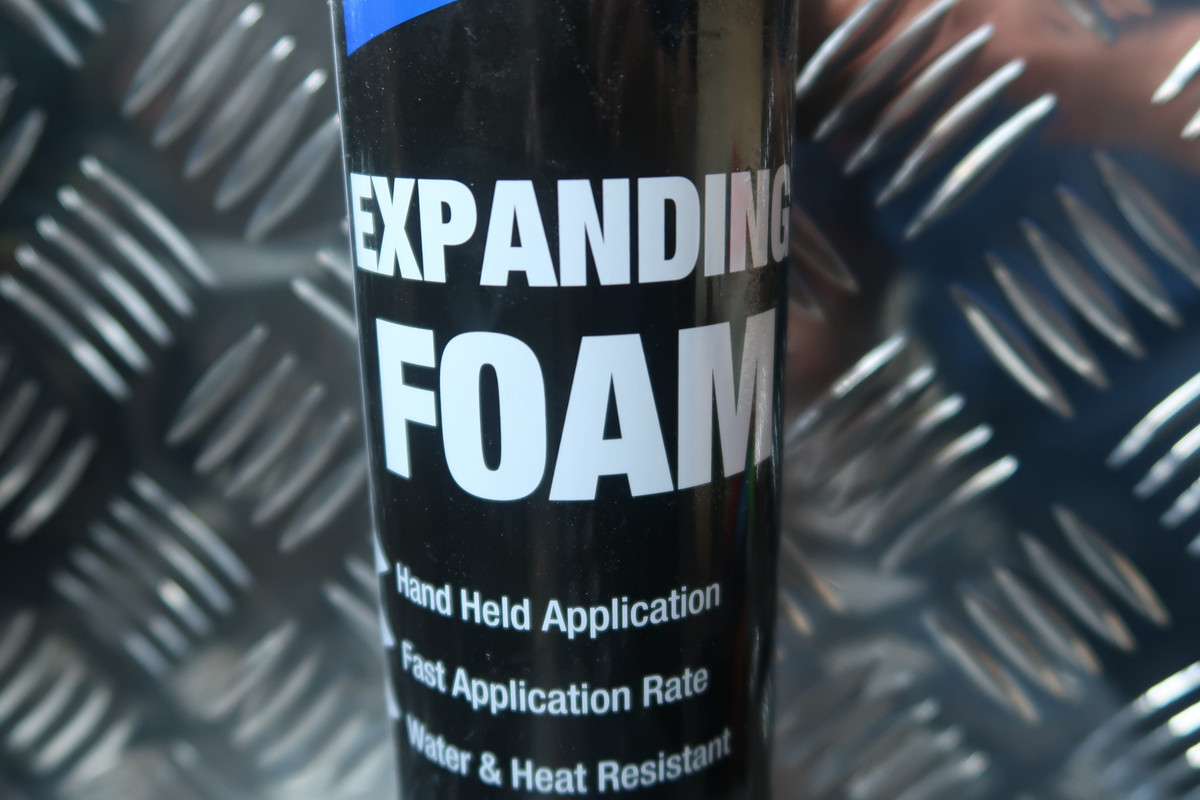 The initial idea was to use a decorators foaming sealant to creat the scenery structure. It was easy, light, cheap but unfortunately didn’t look very cave like. We couldn’t think of what to coat it with to improve the appearance - pause for six weeks of angst with several options considered including throwing away and starting again and suggesting that we didn’t want a cave anyway! 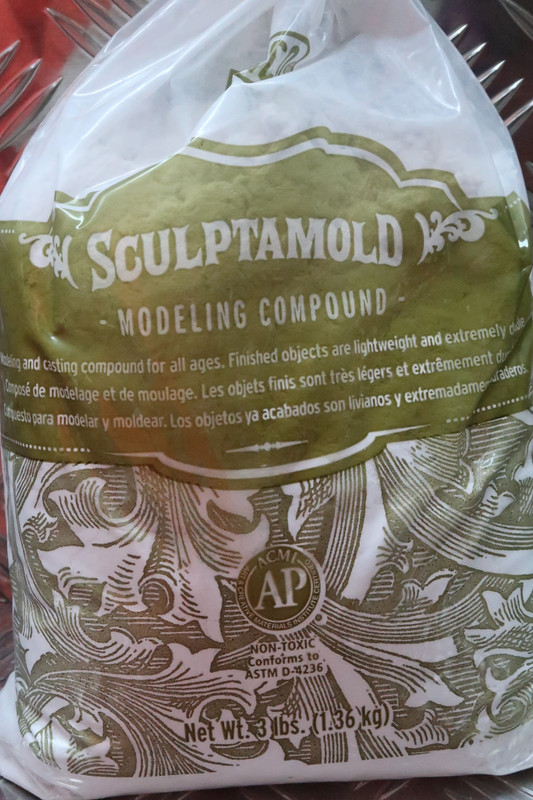 We spotted this on Amazon. It seems to be an advanced papier-mâché - stickier, stronger and quicker to use. We could also use with poster paints, which are water based, cheap, easy to mix and use. We felt that it would not be flexible enough to make as a removable insert so it was screwed in place. 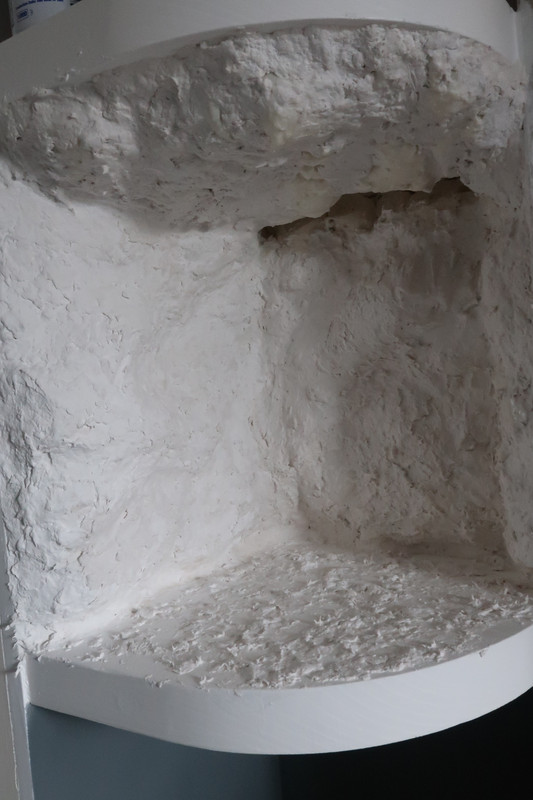 This is after the first coat. Just the effect we wanted. Furthermore the accidental splatter on the “floor” was the effect we wanted. The complete coating was about eight sessions of 10 mins, over two days. We used our fingers, in surgical gloves, to spread the modelling compound. The main problem was how quickly the it set. We had two bags and one set in less than 5 minutes. I suspect it was old stock. 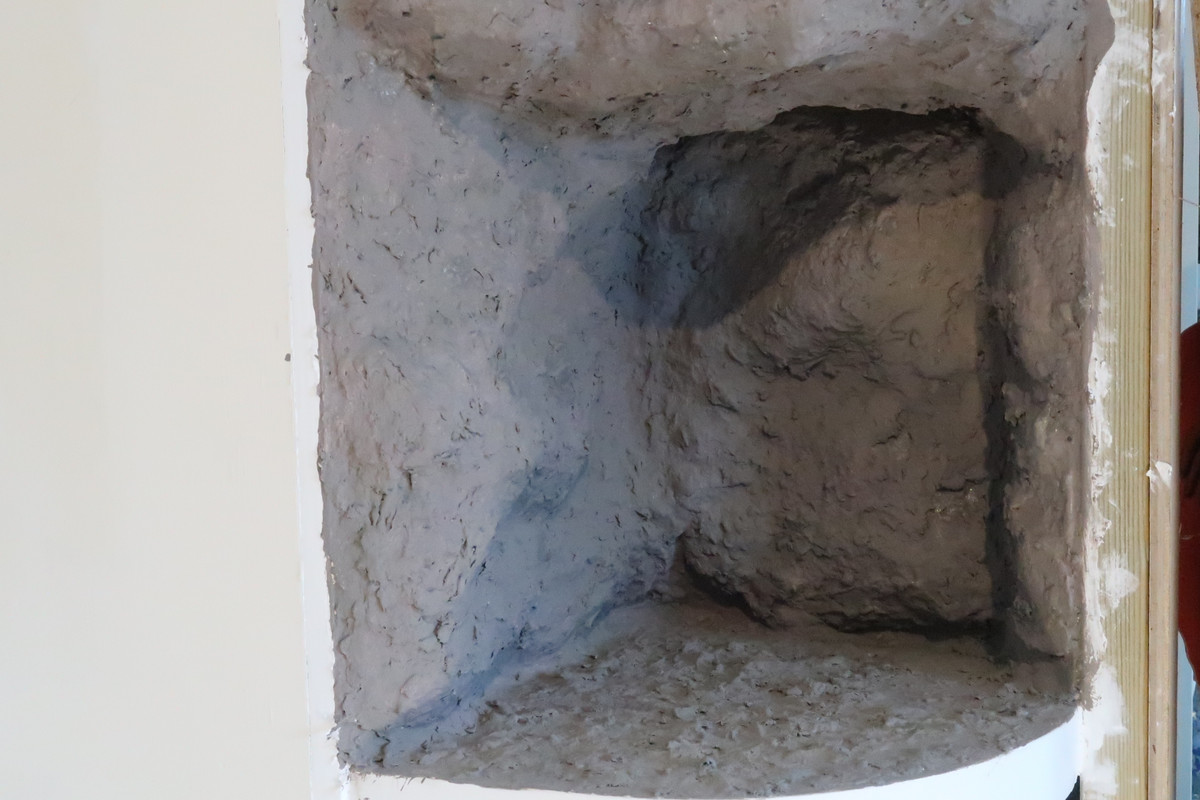 This is it painted. We waited about 2 days before it was completely it was painted in two coats. The main problem was little voids in the surface that showed up as the paint dried, so another two touch ups was required. The whole thing is quite robust and will stand a few knocks without damage.
_________________
I’m Dedicated to serving Professor Gangrene as One of His Loyal Minions.
| |
|
  | |
Rogue-Trooper
Swashbuckling Rogue

Posts : 2619
Join date : 2016-09-11
Location : Bedfordshire
 |  Subject: Re: Step by step on how the Cave diorama was made. Subject: Re: Step by step on how the Cave diorama was made.  Sun Apr 04, 2021 2:45 pm Sun Apr 04, 2021 2:45 pm | |
| Brilliant tutorial  _________________ NEW STORAGE FACILITY IS FINALLY FINISHED  CHRIS | |
|
  | |
Professor Gangrene Fan
Moderator

Posts : 11111
Join date : 2012-11-11
 |  Subject: Re: Step by step on how the Cave diorama was made. Subject: Re: Step by step on how the Cave diorama was made.  Sun Apr 04, 2021 2:46 pm Sun Apr 04, 2021 2:46 pm | |
| - Rogue-Trooper wrote:
- Brilliant tutorial
 Thanks Cool Chris. It was my dad who typed up the tutorial.
_________________
I’m Dedicated to serving Professor Gangrene as One of His Loyal Minions.
| |
|
  | |
BAMComix
Admin

Posts : 15331
Join date : 2012-11-07
Age : 52
Location : Birmingham, England
 |  Subject: Re: Step by step on how the Cave diorama was made. Subject: Re: Step by step on how the Cave diorama was made.  Sun Apr 04, 2021 2:52 pm Sun Apr 04, 2021 2:52 pm | |
|
Last edited by Blondeactionman on Sun Apr 04, 2021 3:01 pm; edited 1 time in total | |
|
  | |
Professor Gangrene Fan
Moderator

Posts : 11111
Join date : 2012-11-11
 |  Subject: Re: Step by step on how the Cave diorama was made. Subject: Re: Step by step on how the Cave diorama was made.  Sun Apr 04, 2021 2:54 pm Sun Apr 04, 2021 2:54 pm | |
|
_________________
I’m Dedicated to serving Professor Gangrene as One of His Loyal Minions.
| |
|
  | |
Chip
Canadian Mounted Police

Posts : 1768
Join date : 2014-02-26
 |  Subject: Re: Step by step on how the Cave diorama was made. Subject: Re: Step by step on how the Cave diorama was made.  Sun Apr 04, 2021 5:09 pm Sun Apr 04, 2021 5:09 pm | |
| Nice of you to share with us Alex .
_________________
" There will be no Mercy ." Chip Hazard .
| |
|
  | |
Professor Gangrene Fan
Moderator

Posts : 11111
Join date : 2012-11-11
 |  Subject: Re: Step by step on how the Cave diorama was made. Subject: Re: Step by step on how the Cave diorama was made.  Sun Apr 04, 2021 5:12 pm Sun Apr 04, 2021 5:12 pm | |
| - Chip wrote:
- Nice of you to share with us Alex .
It’s no problem Chip.
_________________
I’m Dedicated to serving Professor Gangrene as One of His Loyal Minions.
| |
|
  | |
FIELD STATION 42
Admin

Posts : 4099
Join date : 2018-03-22
Location : South Central Utah, USA
 |  Subject: Re: Step by step on how the Cave diorama was made. Subject: Re: Step by step on how the Cave diorama was made.  Sun Apr 04, 2021 6:13 pm Sun Apr 04, 2021 6:13 pm | |
| Nice work, Alex and Other Dave! Very clear description and work-in-progress photos! You guys knew going in that we would want to know how you made this, didn't you?
I'm impressed that the cave walls are assembled on wood backer boards. I was not expecting that sort of quality.
Was the paper mache mix pressed over the expanded spray foam, or did you remove some of the spray foam first?
And designed for future expansion with interior lighting - very clever!
Great work. Thank you for sharing the step by step and clear directions!
_________________
... DAVE
Last edited by SCU_HQ on Sun Apr 04, 2021 7:44 pm; edited 2 times in total | |
|
  | |
Professor Gangrene Fan
Moderator

Posts : 11111
Join date : 2012-11-11
 |  Subject: Re: Step by step on how the Cave diorama was made. Subject: Re: Step by step on how the Cave diorama was made.  Sun Apr 04, 2021 6:38 pm Sun Apr 04, 2021 6:38 pm | |
| - SCU_HQ wrote:
- . Was the paper mache mix pressed over the expanded spray foam, or did you remove some of the spray foam first?
We trimmed the foam a very small amount, but most of the foam was left unchanged. The whole design was by accident really but turned out quite well. The foam gives the major shape and volume, the paper mache gives the detailed shape. This means the structure is light and doesn’t crack and also dried quite quickly. As I said the rugged floor was also by accident. We’re going to use paper mache mix on the floor of the next two scenes!
_________________
I’m Dedicated to serving Professor Gangrene as One of His Loyal Minions.
| |
|
  | |
FIELD STATION 42
Admin

Posts : 4099
Join date : 2018-03-22
Location : South Central Utah, USA
 |  Subject: Re: Step by step on how the Cave diorama was made. Subject: Re: Step by step on how the Cave diorama was made.  Sun Apr 04, 2021 7:45 pm Sun Apr 04, 2021 7:45 pm | |
| - Prof Gangrene Fan wrote:
- We’re going to use paper mache mix on the floor of the next two scenes!
Yes, the effect on the floor is quite believably realistic! I would like to try something similar to make a "natural" floor myself!
_________________
... DAVE
Last edited by SCU_HQ on Sun Apr 04, 2021 11:31 pm; edited 1 time in total | |
|
  | |
Guest
Guest
 |  Subject: Re: Step by step on how the Cave diorama was made. Subject: Re: Step by step on how the Cave diorama was made.  Sun Apr 04, 2021 8:18 pm Sun Apr 04, 2021 8:18 pm | |
| Great tutorial and a great Dio, I'm sure it will have a lot of uses. Well Done. ;-) |
|
  | |
Professor Gangrene Fan
Moderator

Posts : 11111
Join date : 2012-11-11
 |  Subject: Re: Step by step on how the Cave diorama was made. Subject: Re: Step by step on how the Cave diorama was made.  Sun Apr 04, 2021 9:48 pm Sun Apr 04, 2021 9:48 pm | |
| - SixthShooter wrote:
- Great tutorial and a great Dio, I'm sure it will have a lot of uses. Well Done. ;-)
Thank you very much for your comments SixthShooter.
_________________
I’m Dedicated to serving Professor Gangrene as One of His Loyal Minions.
| |
|
  | |
TNshooter
GERMAN STORMTROOPER

Posts : 2020
Join date : 2020-07-22
Age : 62
Location : East Tennessee, US
 |  Subject: Re: Step by step on how the Cave diorama was made. Subject: Re: Step by step on how the Cave diorama was made.  Mon Apr 05, 2021 4:59 am Mon Apr 05, 2021 4:59 am | |
| Thank you for the tutorial Alexander!
It turned out great.
Daryl
| |
|
  | |
Guest
Guest
 |  Subject: Re: Step by step on how the Cave diorama was made. Subject: Re: Step by step on how the Cave diorama was made.  Mon Apr 05, 2021 5:15 am Mon Apr 05, 2021 5:15 am | |
| Excellent effort!
Now how about a light coat of black or dark brown with a stiff brush then wipe it off the high areas while it's still wet?
It will stay in the hollows and grooves, really bringing out the detail and provide a good shading and contrast.
Just like moss and dirt in between the rocks. |
|
  | |
Professor Gangrene Fan
Moderator

Posts : 11111
Join date : 2012-11-11
 |  Subject: Re: Step by step on how the Cave diorama was made. Subject: Re: Step by step on how the Cave diorama was made.  Mon Apr 05, 2021 8:32 am Mon Apr 05, 2021 8:32 am | |
| - TNshooter wrote:
- Thank you for the tutorial Alexander!
It turned out great.
Daryl
Thank you very much for comments Daryl.
_________________
I’m Dedicated to serving Professor Gangrene as One of His Loyal Minions.
| |
|
  | |
Professor Gangrene Fan
Moderator

Posts : 11111
Join date : 2012-11-11
 |  Subject: Re: Step by step on how the Cave diorama was made. Subject: Re: Step by step on how the Cave diorama was made.  Mon Apr 05, 2021 8:34 am Mon Apr 05, 2021 8:34 am | |
| - LeStryge wrote:
- Excellent effort!
Now how about a light coat of black or dark brown with a stiff brush then wipe it off the high areas while it's still wet?
It will stay in the hollows and grooves, really bringing out the detail and provide a good shading and contrast.
Just like moss and dirt in between the rocks. Thanks for your suggestions but I’m leaving how it’s painted thanks LeStryge.
_________________
I’m Dedicated to serving Professor Gangrene as One of His Loyal Minions.
| |
|
  | |
Rustygun
Landing Signal Officer

Posts : 1433
Join date : 2017-07-04
Age : 58
Location : Buckinghamshire
 |  Subject: Re: Step by step on how the Cave diorama was made. Subject: Re: Step by step on how the Cave diorama was made.  Mon Apr 05, 2021 9:34 am Mon Apr 05, 2021 9:34 am | |
| | |
|
  | |
Professor Gangrene Fan
Moderator

Posts : 11111
Join date : 2012-11-11
 |  Subject: Re: Step by step on how the Cave diorama was made. Subject: Re: Step by step on how the Cave diorama was made.  Mon Apr 05, 2021 9:54 am Mon Apr 05, 2021 9:54 am | |
| - Rustygun wrote:
- The cave looks great ..
Thank you very much Rustygun.
_________________
I’m Dedicated to serving Professor Gangrene as One of His Loyal Minions.
| |
|
  | |
Guest
Guest
 |  Subject: Re: Step by step on how the Cave diorama was made. Subject: Re: Step by step on how the Cave diorama was made.  Tue Apr 06, 2021 3:16 am Tue Apr 06, 2021 3:16 am | |
| - Prof Gangrene Fan wrote:
- Thanks for your suggestions but I’m leaving how it’s painted thanks LeStryge.
Fair enough Alex. It's your cave. |
|
  | |
londonroadhog
Flock Head

Posts : 173
Join date : 2020-10-31
Location : London
 |  Subject: Re: Step by step on how the Cave diorama was made. Subject: Re: Step by step on how the Cave diorama was made.  Tue Apr 06, 2021 3:53 pm Tue Apr 06, 2021 3:53 pm | |
| Looks great Alex... The expanding foam was a brilliant idea. I'll have to remember that one. We've got a can of that we used some time ago. If it is still good, perhaps I could make a cave one day too...
Good job!
_________________
Colin.
| |
|
  | |
Professor Gangrene Fan
Moderator

Posts : 11111
Join date : 2012-11-11
 |  Subject: Re: Step by step on how the Cave diorama was made. Subject: Re: Step by step on how the Cave diorama was made.  Tue Apr 06, 2021 4:06 pm Tue Apr 06, 2021 4:06 pm | |
| - londonroadhog wrote:
- Looks great Alex... The expanding foam was a brilliant idea. I'll have to remember that one. We've got a can of that we used some time ago. If it is still good, perhaps I could make a cave one day too...
Good job! Thanks for your comments Colin.
_________________
I’m Dedicated to serving Professor Gangrene as One of His Loyal Minions.
| |
|
  | |
Sponsored content
 |  Subject: Re: Step by step on how the Cave diorama was made. Subject: Re: Step by step on how the Cave diorama was made.  | |
| |
|
  | |
| | Step by step on how the Cave diorama was made. |  |
|
