Okay, so some of you guys may remember I created a rock archway sometime back. Lots of you asked me how I did it, but like so many others, I always forget to take pictures as I go, and a lot of stuff I make is on the fly. However, this time when I set out to create a rock wall, I remembered to take pictures. So here we go!
The archway.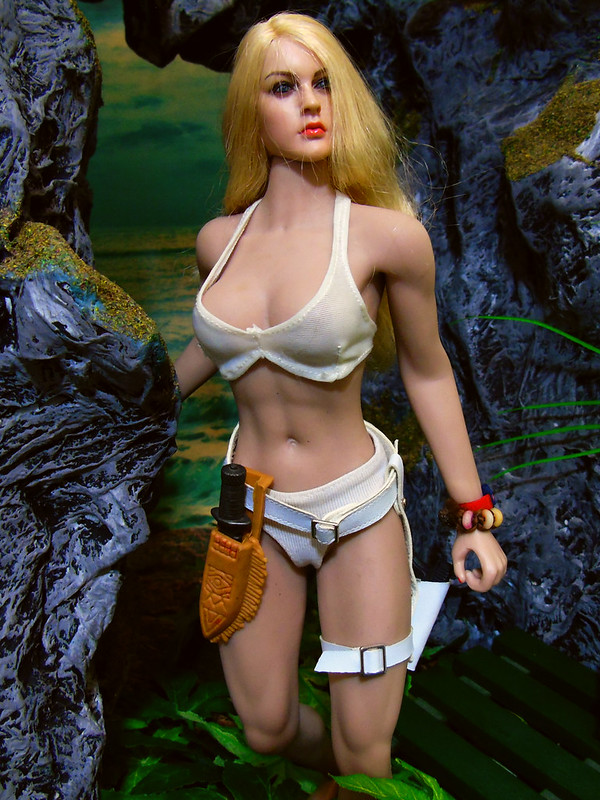 Tabi landing on Spy Island (1)
 by
Dal Lee, on Flickr
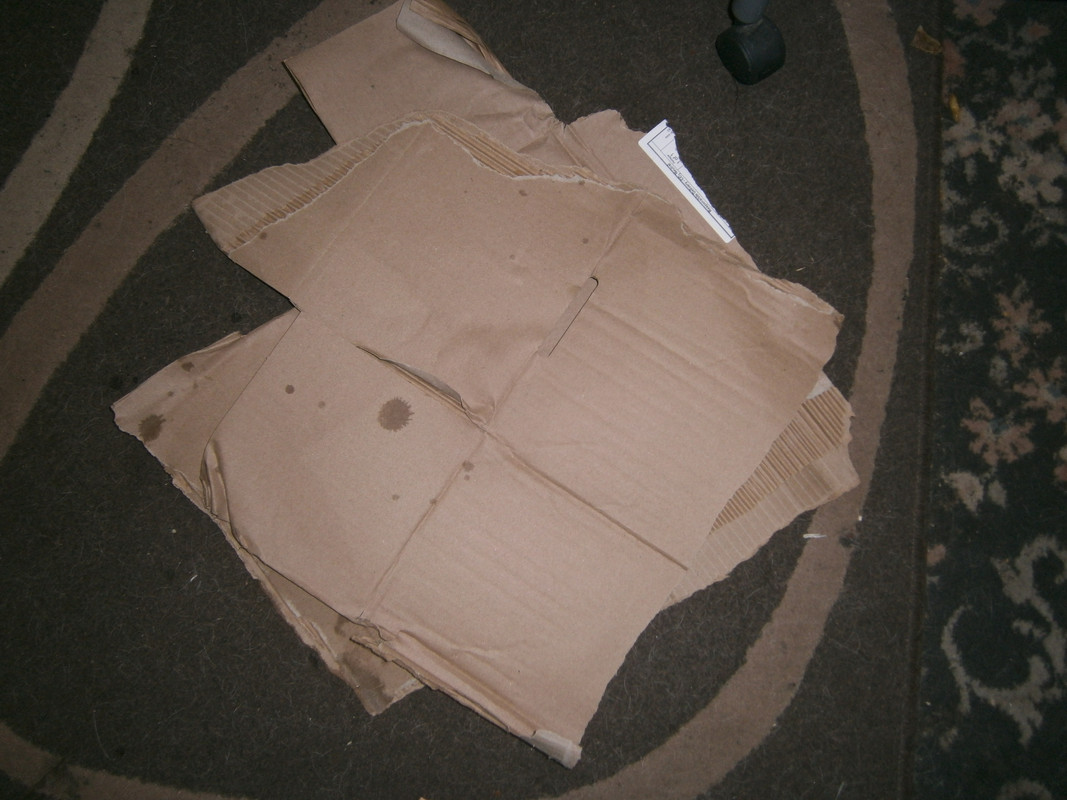
Creating the rock wall.The archway will be made mostly from junk I had laying around. The first thing I need was to use up old cardboard that I had.
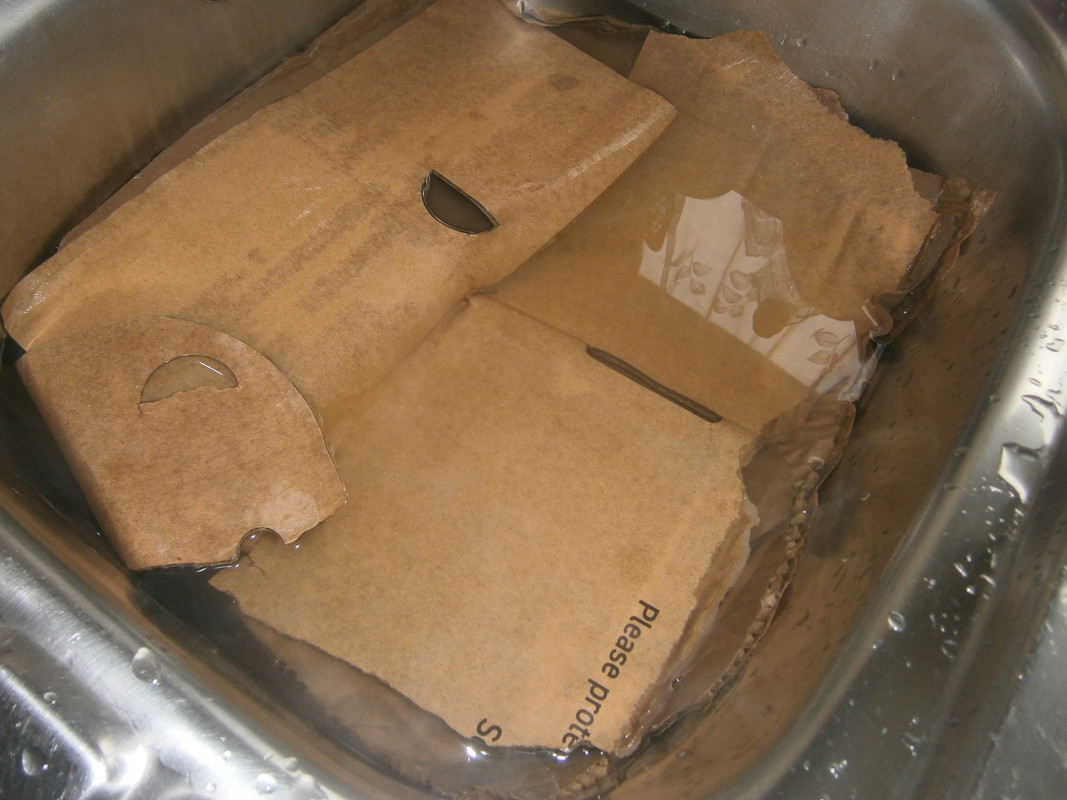
I filled up the sink with very hot water and left the cardboard to soak for about 45 seconds to a minute to become pliable. For some reason, the hotter the water the easier the cardboad becomes to shape?
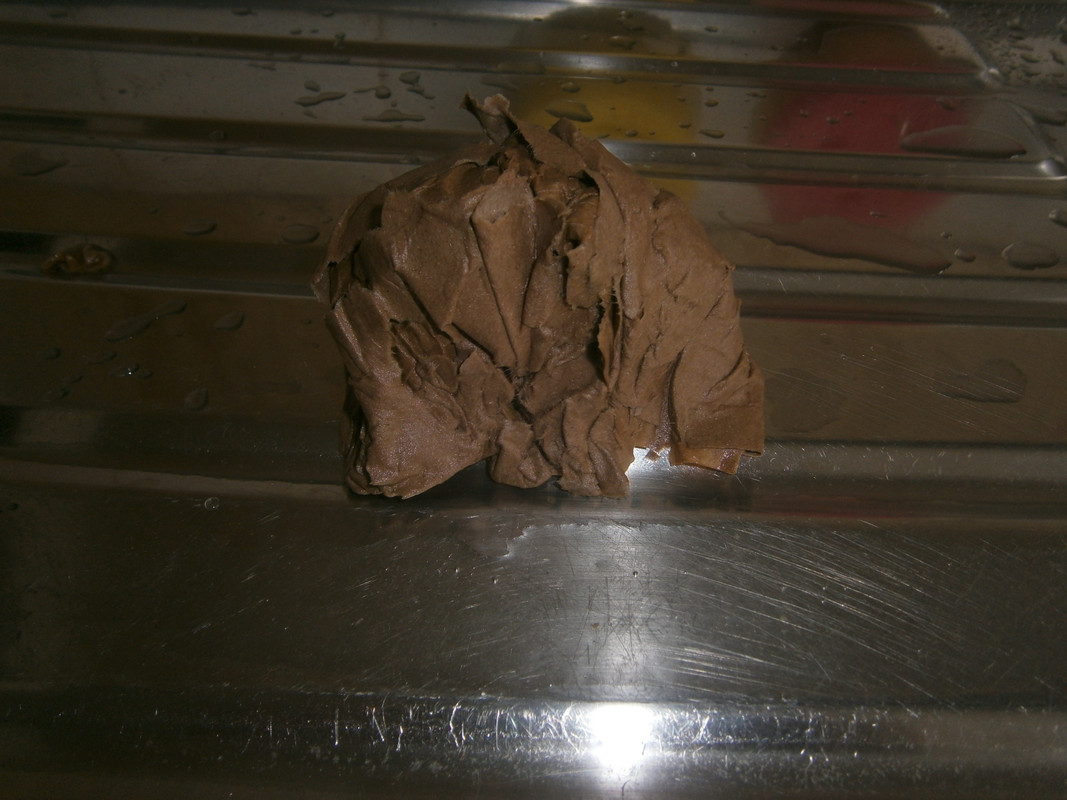
Once I'd squeezed the cardboard in to a rockish shape and forced of the water out, you end up with something like this.
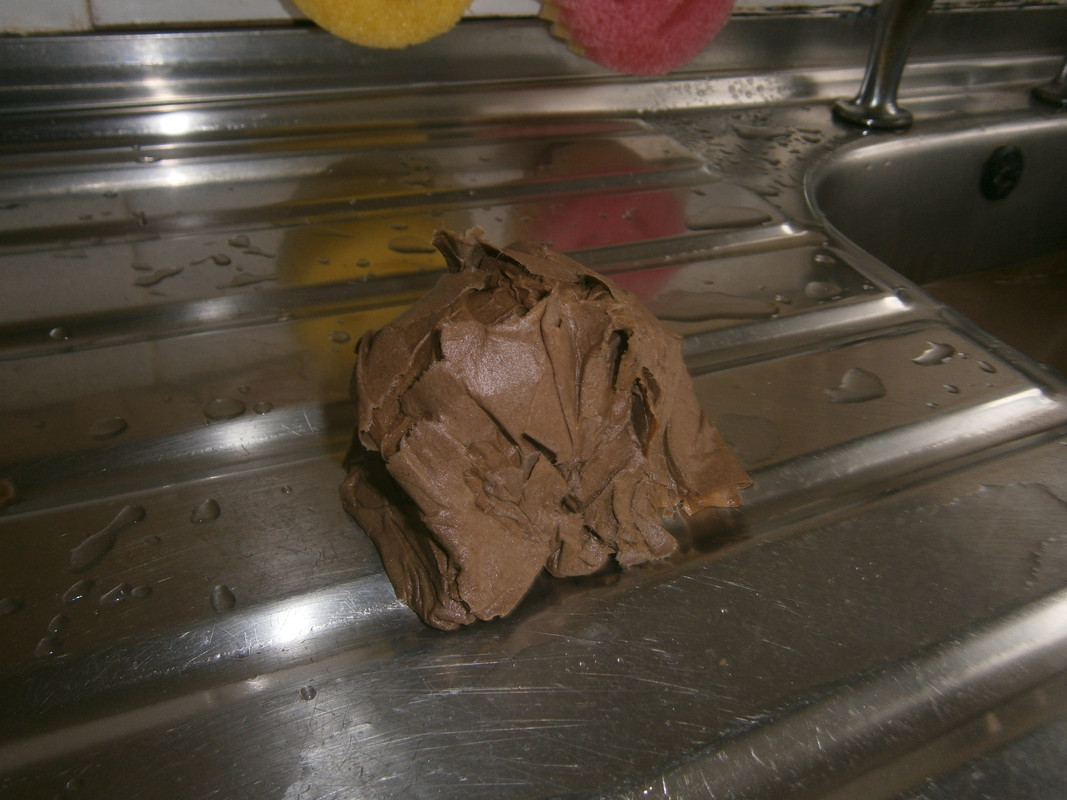
Simply repeat the process for as man rock pieces as you need for your wall. Then leave to dry.
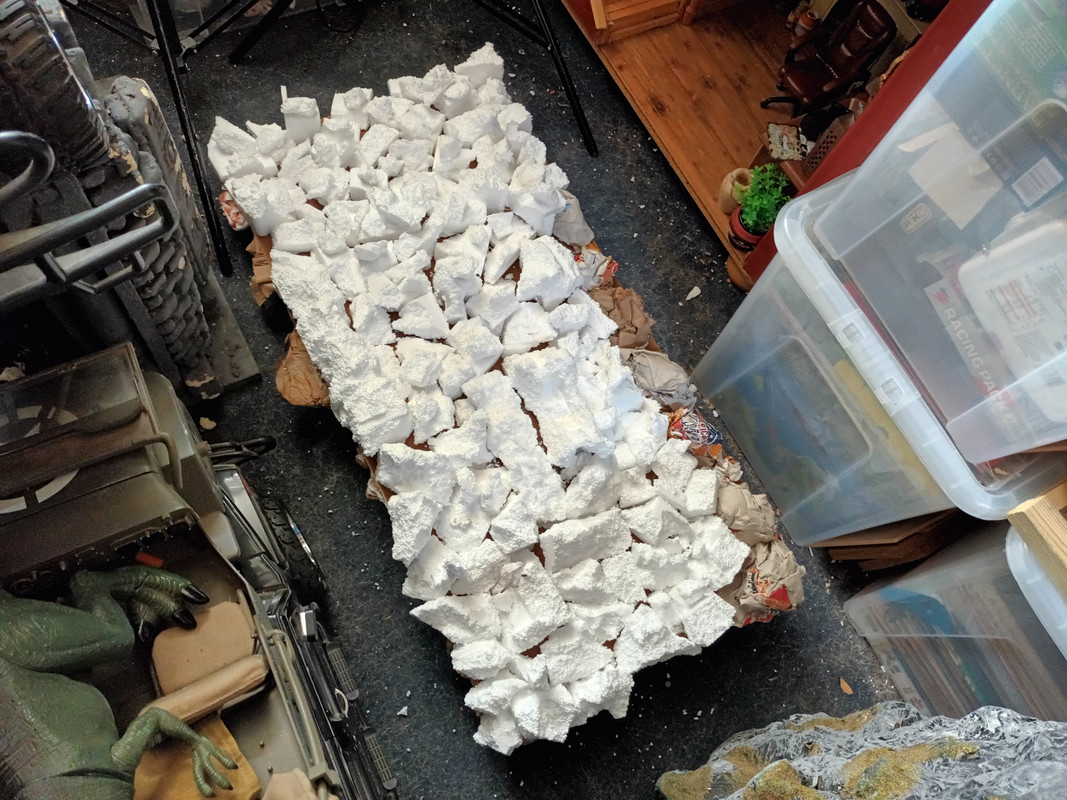
Another great pain in the butt to get rid of is polystyrene (or Styrofoam, as it's known in the U.S.). It's not great for making walls as it disintegrates as you shape it. However, it does make great rock shapes if you start to snap it off in chunks. In these next few pictures, you can see where I glued the polystyrene as well as the cardboard to a piece of hardboard (very hing wood that can be cut with a craft knife). Once glued. again, leave to dry.


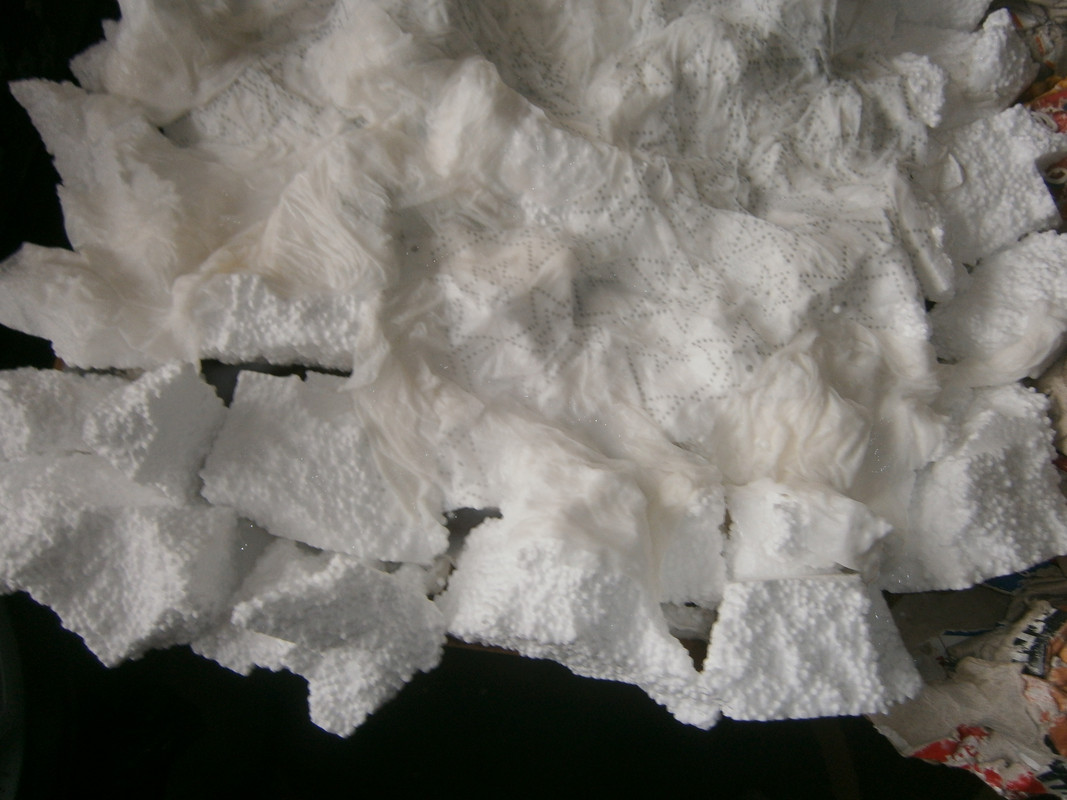
Once dry, you mix up some paper mache. I used about 70% glue to 30% water, but everyone's different in their own approach to this. I used tissue as opposed to newspaper to cover all the polystyrene and cardboard. It's messy, but great fun. Once done, again leave to dry.
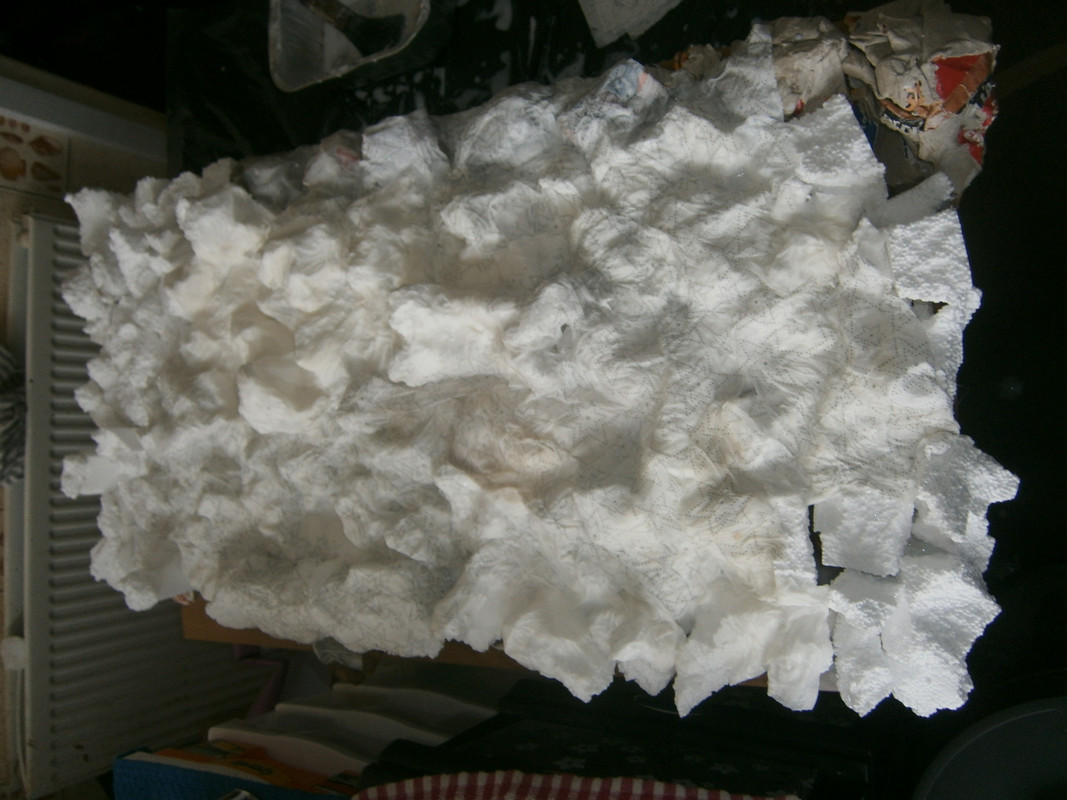
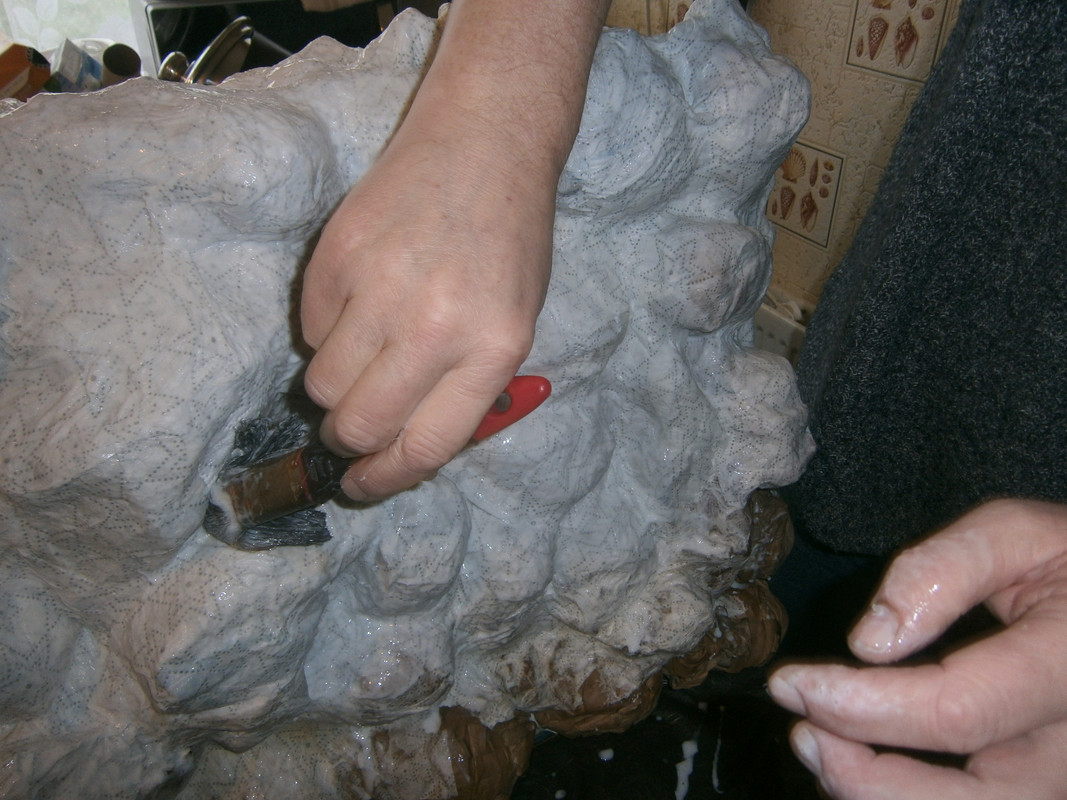
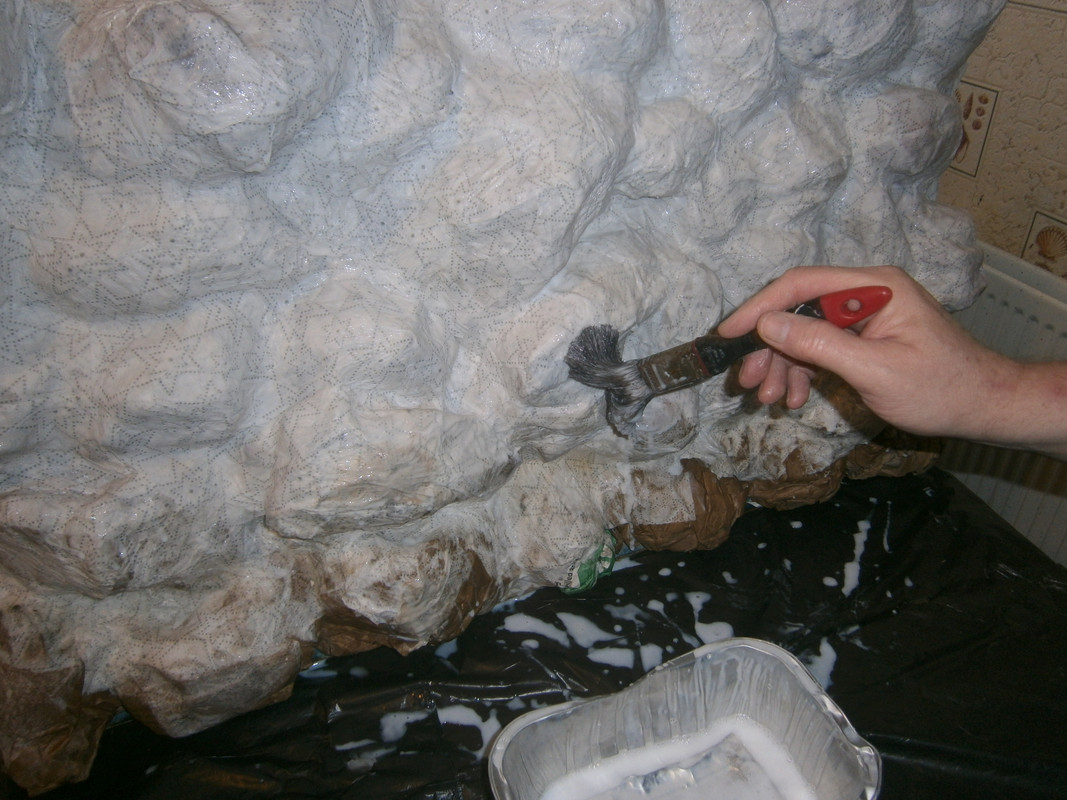
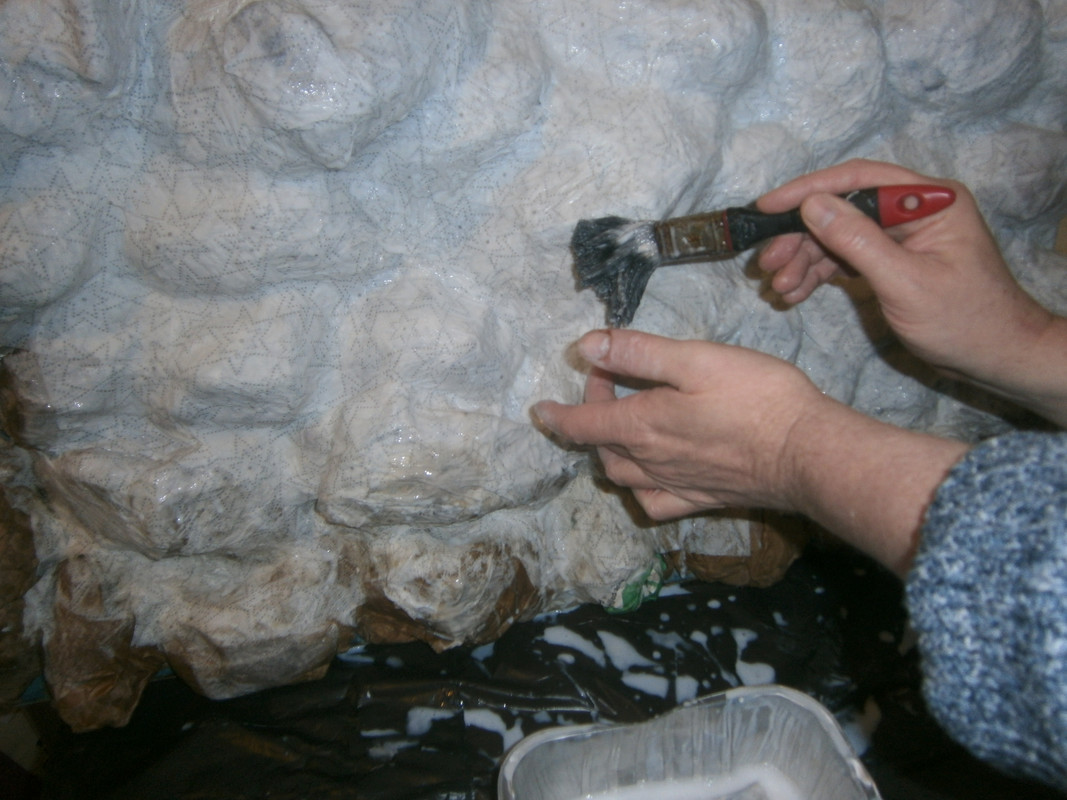
Once dry, you should have so
Something like this,

The next stage is to base coat black. I painted mine with a brush, but spray would be just as effective.

The next stage is to dry brush the whole thing in shades of grey. Starting from a very dark grey, eventually working your way up to an extremely light grey. This will create the rock texture look. Sadly, this is where I forgot to do pictures of the various colour stages. But here is the final stage after a light grey dry-brushing. I used a paint brush, and acrylic art paints. The wall is actually double sided, so it was a long process, but I think well worth it.
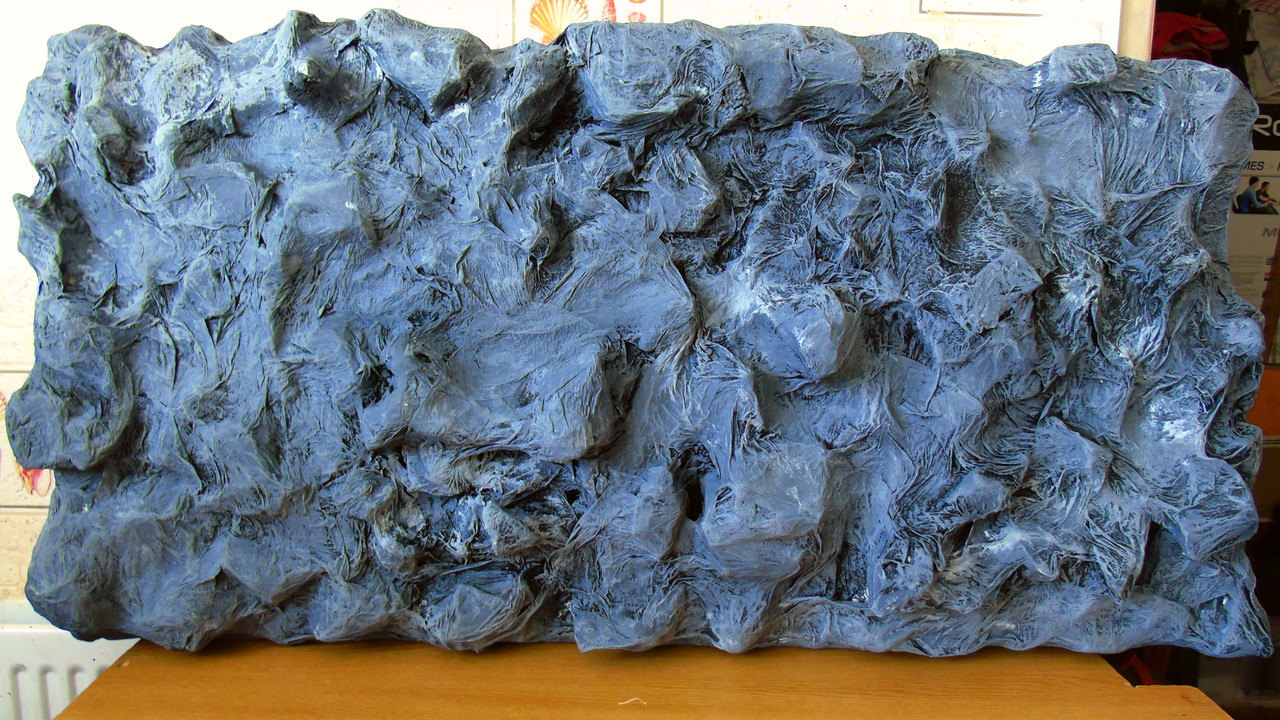
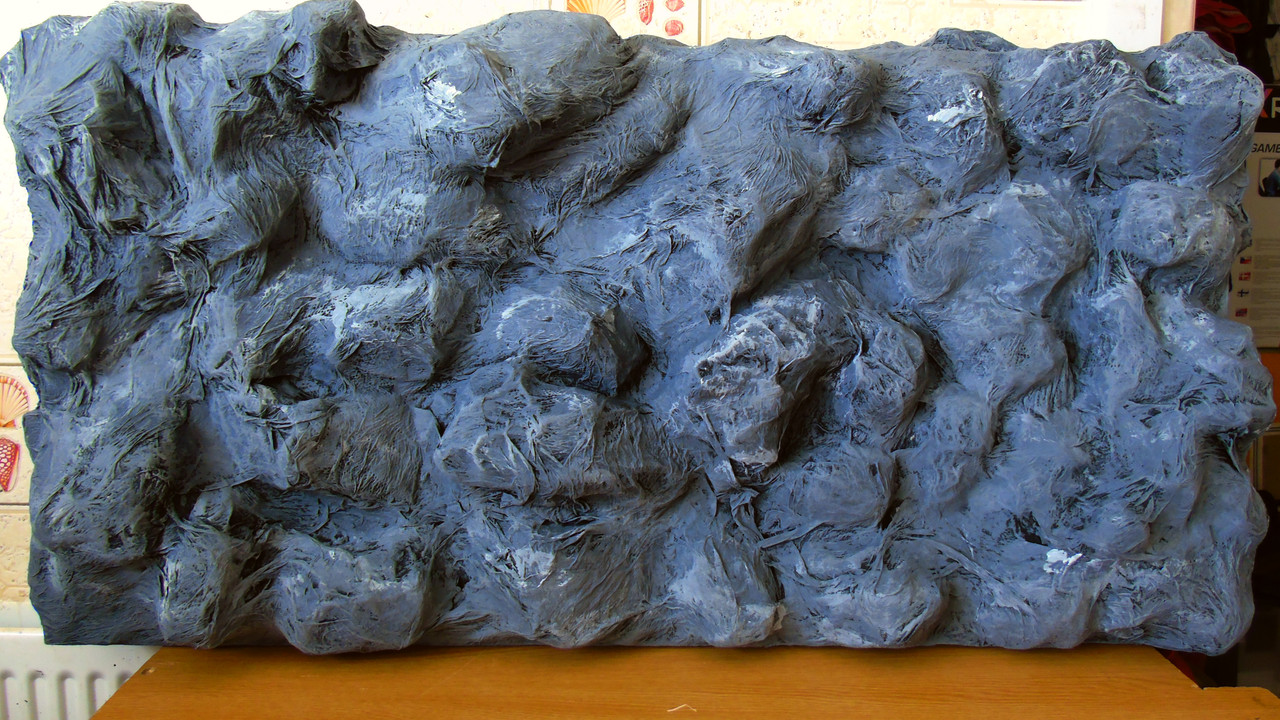
The next few pics I added a figure to give an idea of scale.

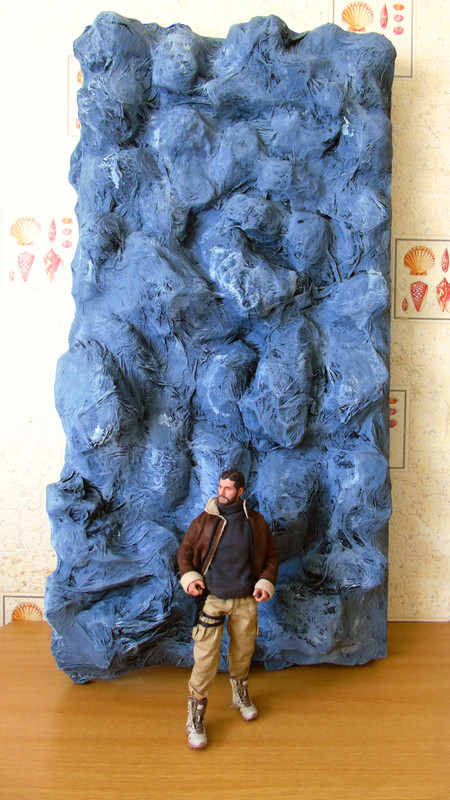
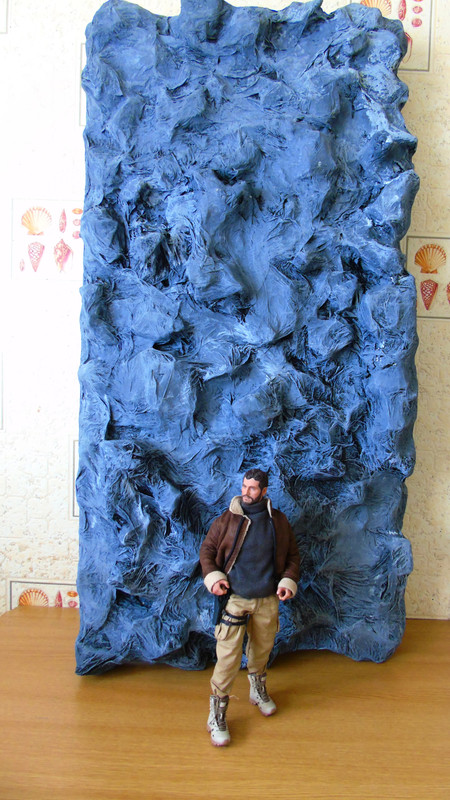
All I need to do now, is add some grass flock to the wall, which I will take pictures of when it arrives, as well as the how to. I hope you guys found this helpful, and maybe, you'll have a try yourselves? Thanks for looking!
